
The Vegan Baker by Zacchary Bird
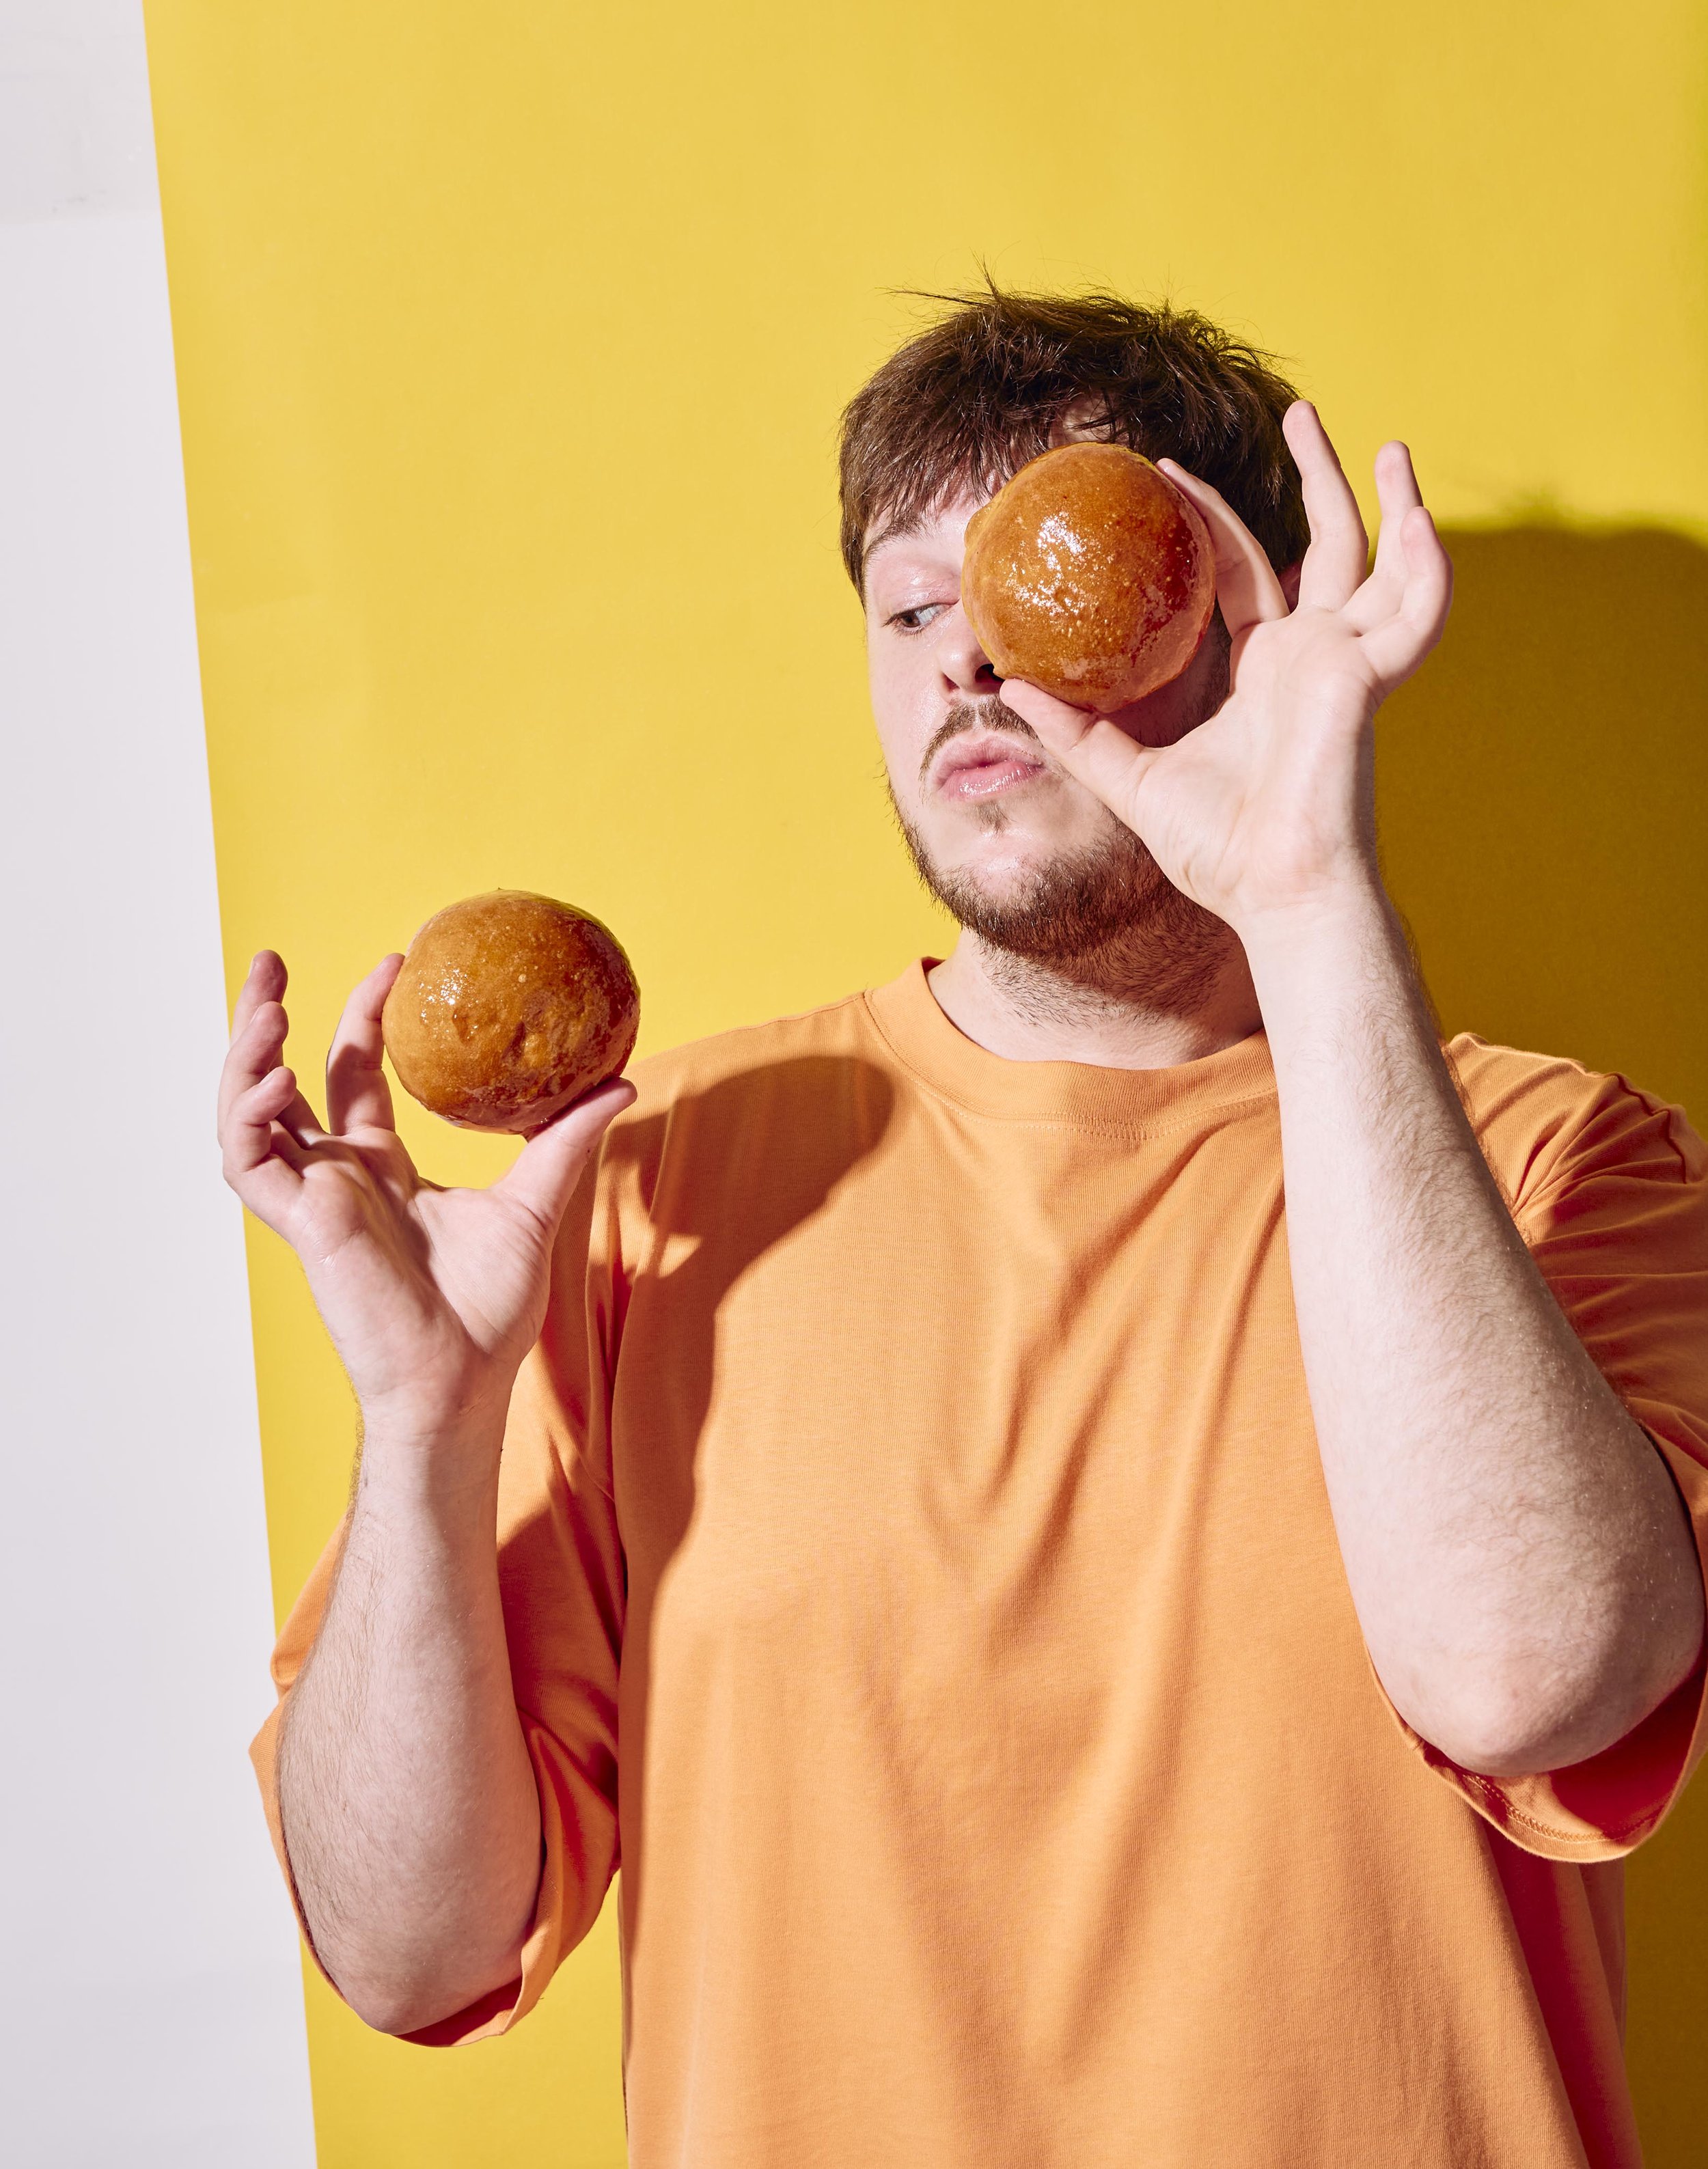
The Vegan Baker, by Zacchary Bird, is the ultimate guide to plant-based breads, pastries, donuts, cookies, cakes and much more. The book shows us, with Zacchary’s ingenuity, that anything can be made vegan!
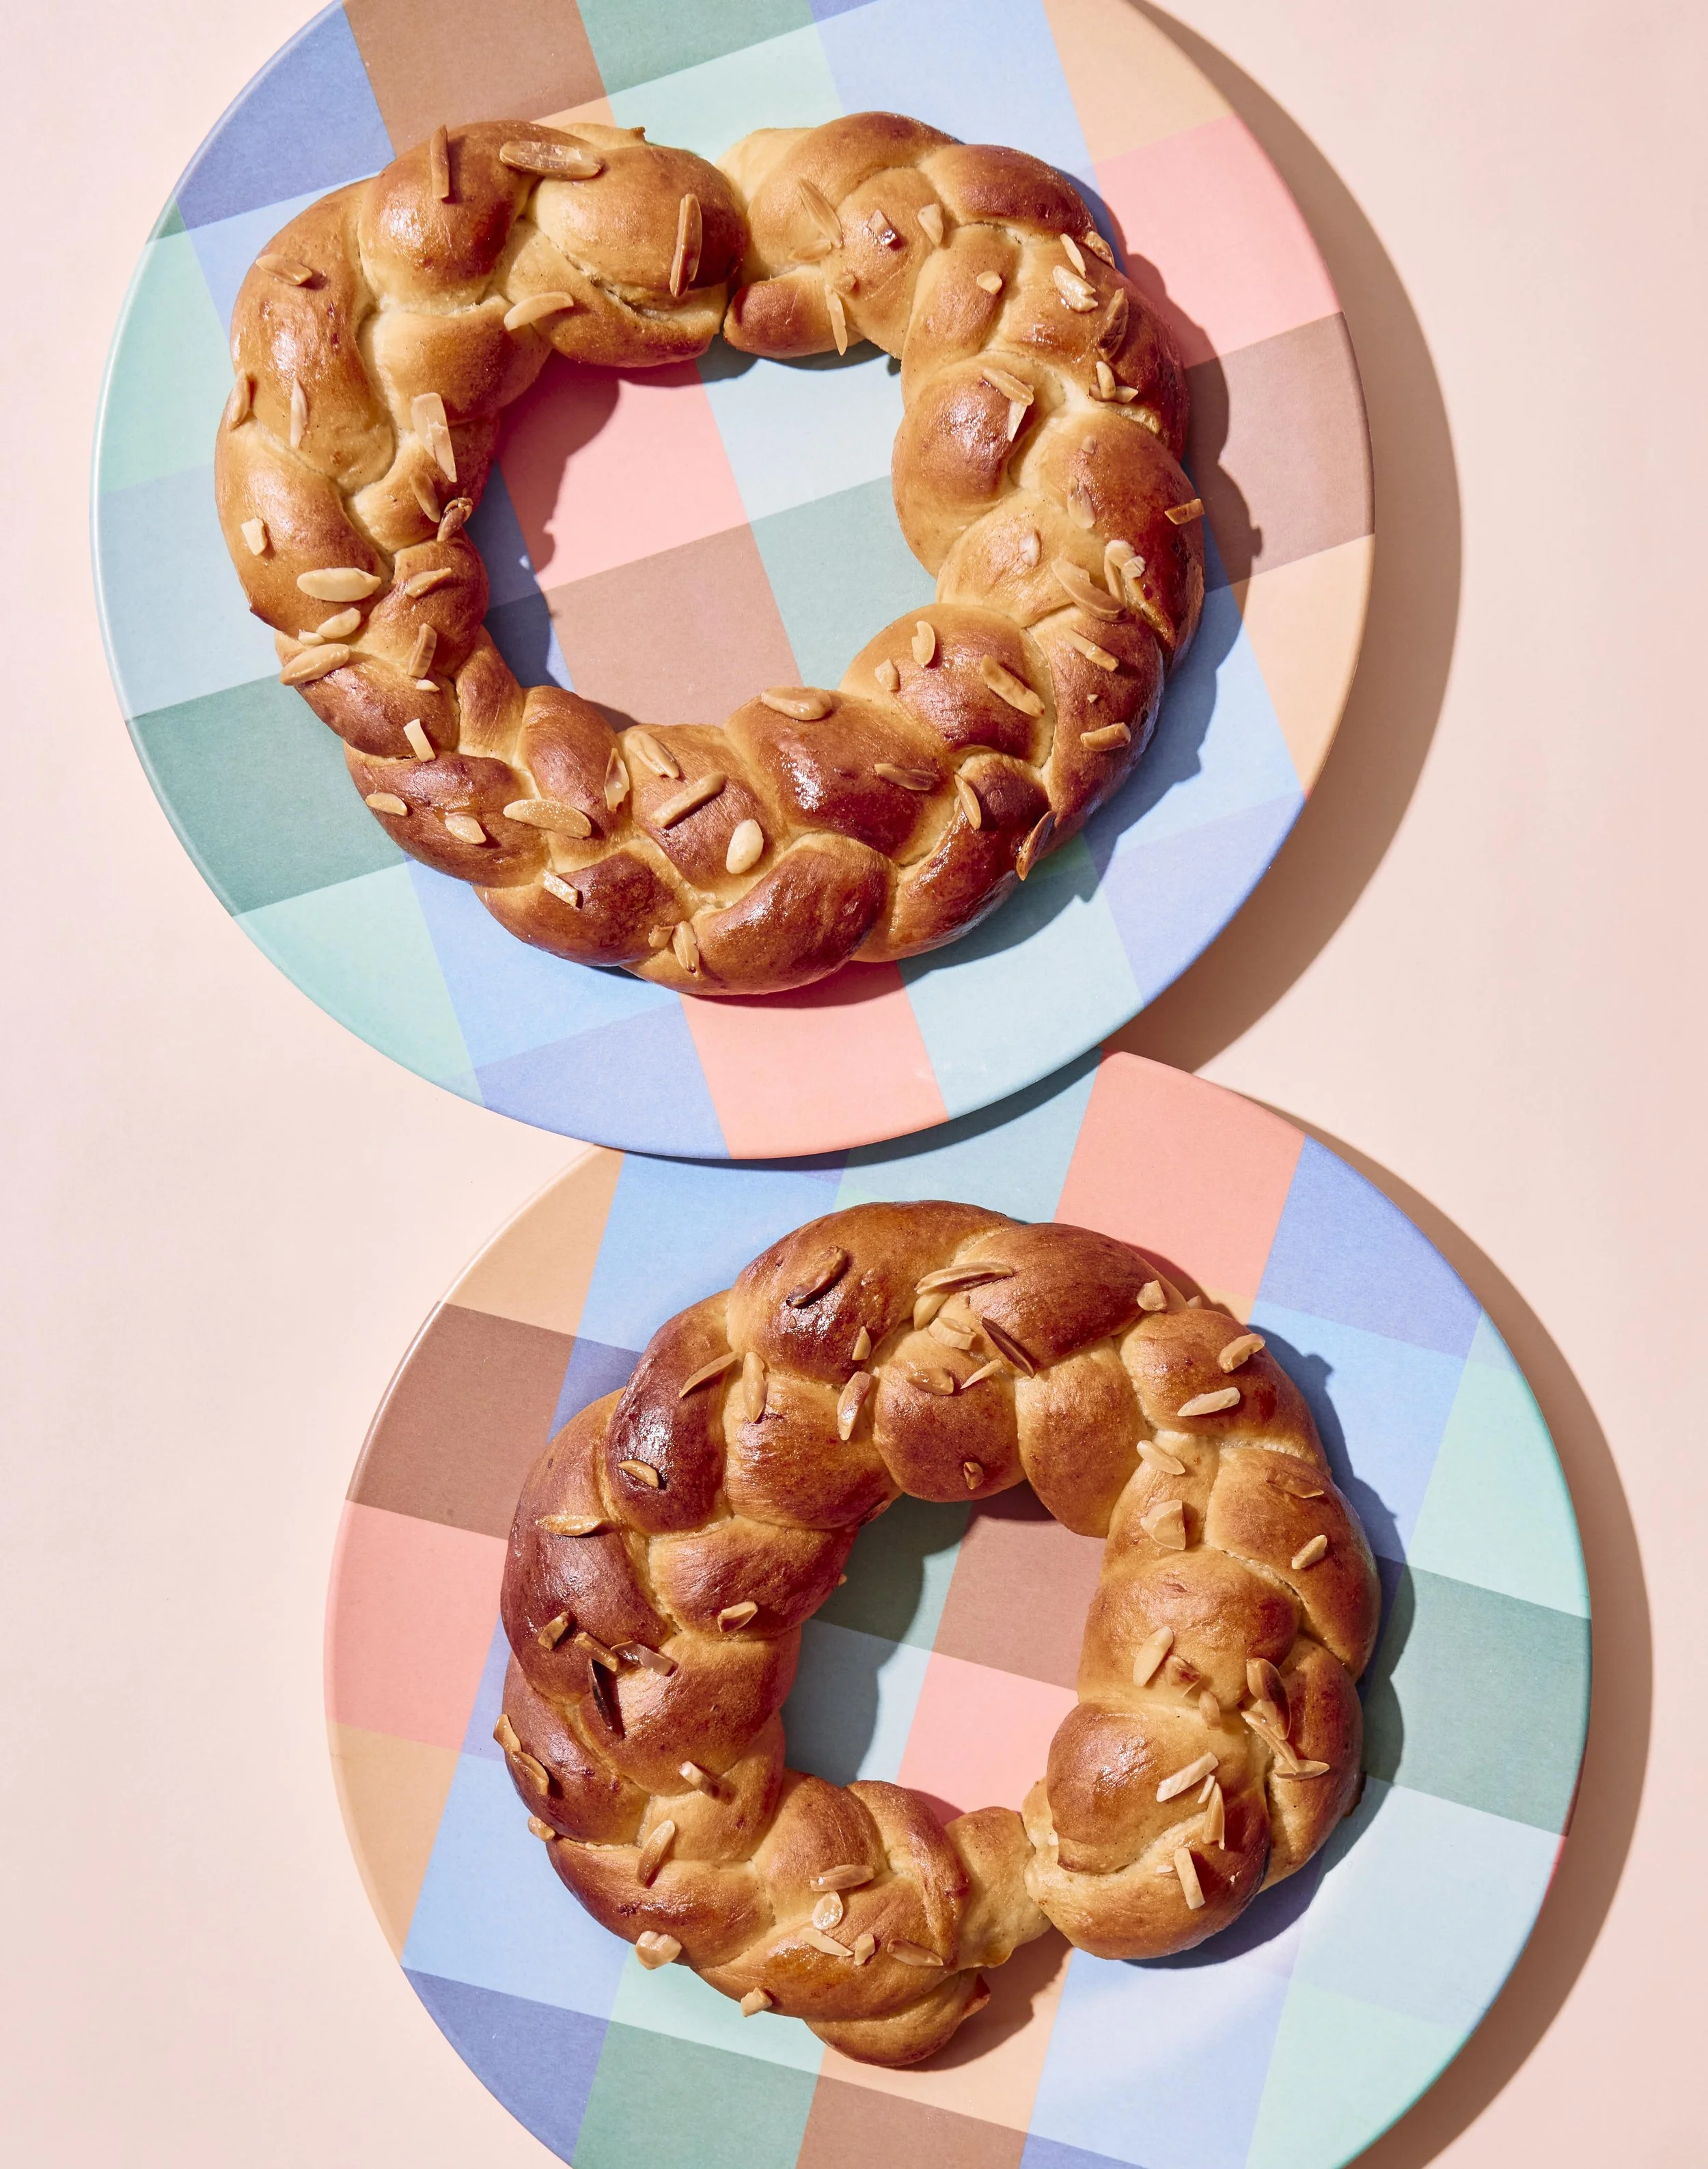
Photography: Emily Weaving
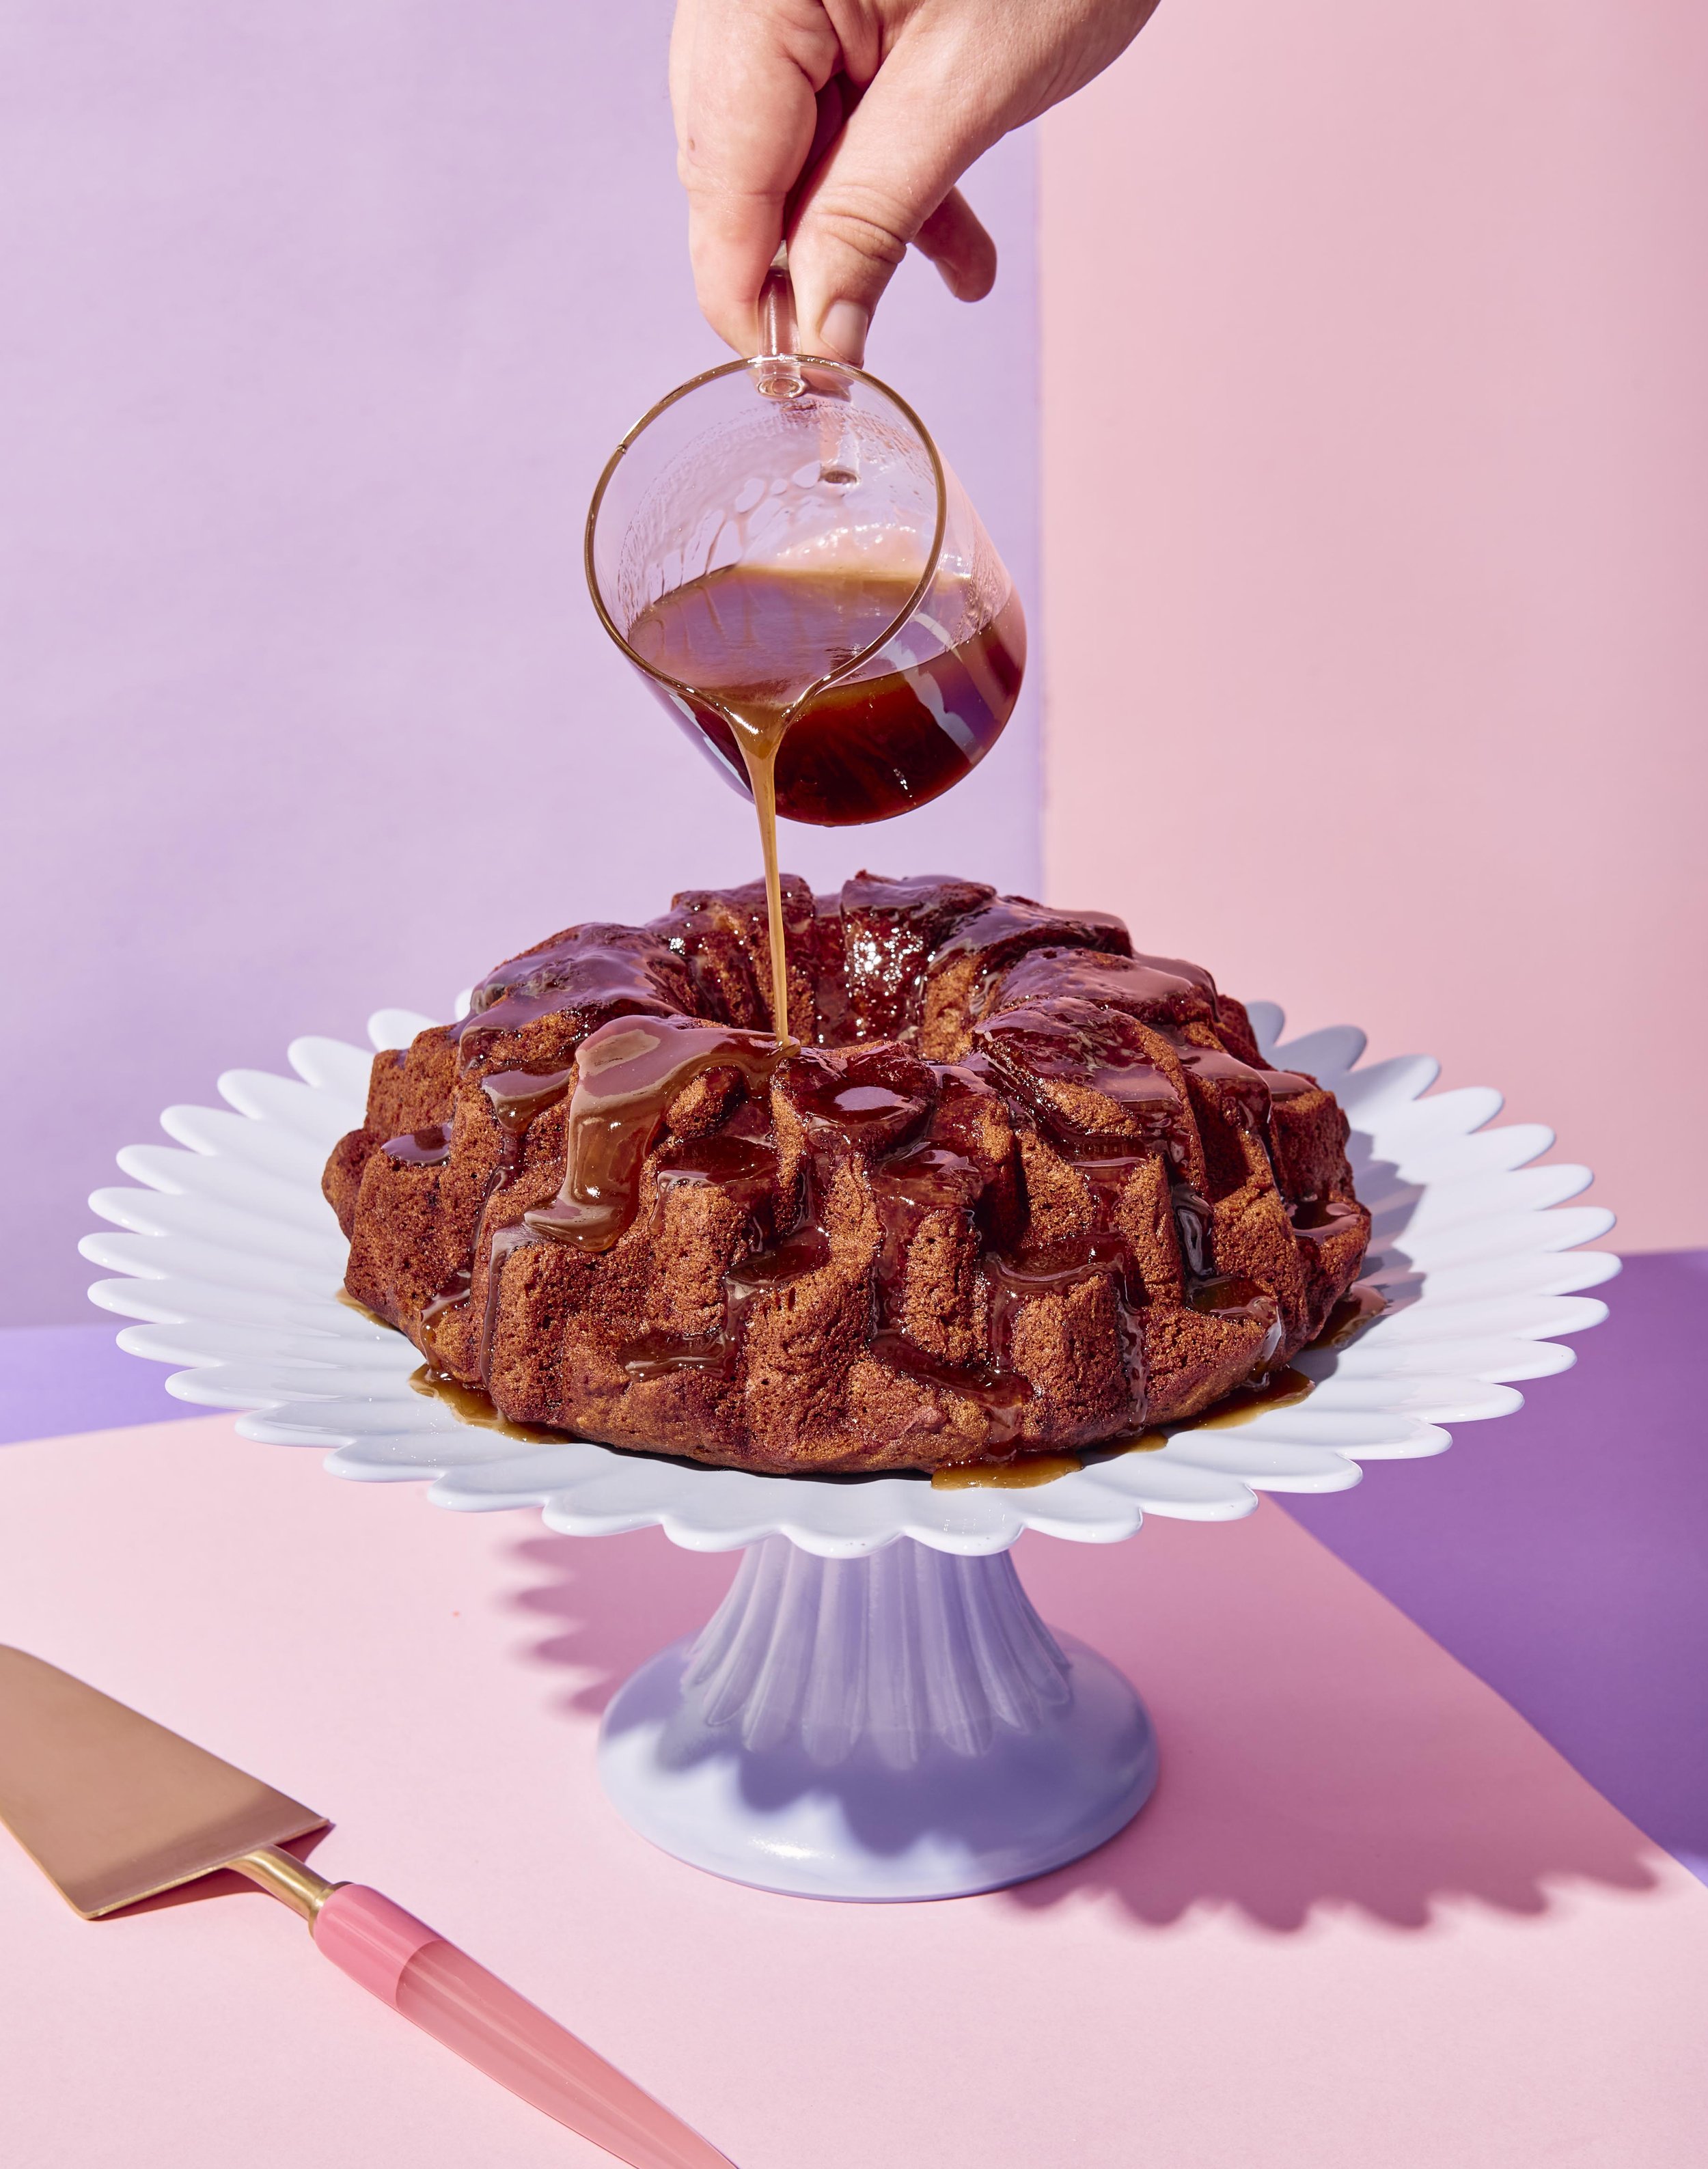
Sticky Date Pudding from The Vegan Baker. Photo: Emily Weaving

Cream Horns from The Vegan Baker. Photo: Emily Weaving
‘Vegans have spent years outside bakeries, peering at treats seemingly so far out of reach – but you can consider that glass window now shattered,’ says Zacchary Bird in the opening pages of his latest cookbook, The Vegan Baker.
The book shows us how to understand exactly how animal products work in baking applications, ‘They’re far from the only ingredients that can enrich, bind, raise and taste damn delicious,’ shares Zacchary.
More than just a cookbook, The Vegan Baker is packed with over 100 recipes for all our baked favourites, made vegan. Whip up cherry pies, chocolate chip cookies, or chocolate cakes without butter, eggs, milk, cheese, and honey.
Learn how to make croissants – yes croissants! – from scratch, with step-by-step photos that show you how to laminate your own pastry. Bake fresh brioche, Japanese shokupan, and other usually dairy-laden breads, or make your own sourdough starter that you’ll love so much you’ll want to keep it by your side (or at least in your fridge) forever.
If you’re feeling adventurous, learn how to make profiteroles, millefeuille, cannoli and even a croquembouche. Or if savoury snacks are more your jam, Zacchary has recipes for sausage rolls, cornbread, meat-filled pies, scones and more.
Each recipe is explained with Zacchary’ signature humour and easy-to-follow instructions. Veganism is no longer about missing out – it’s about getting creative, and with Zacchary’s ingenuity, baked goods are no longer forbidden.
Below we share a recipe from the new cookbook: rhubarb & strawberry handpies.
This in an edited extract from The Vegan Baker by Zacchary Bird, published by Smith Street Books. Purchase the book online now here.
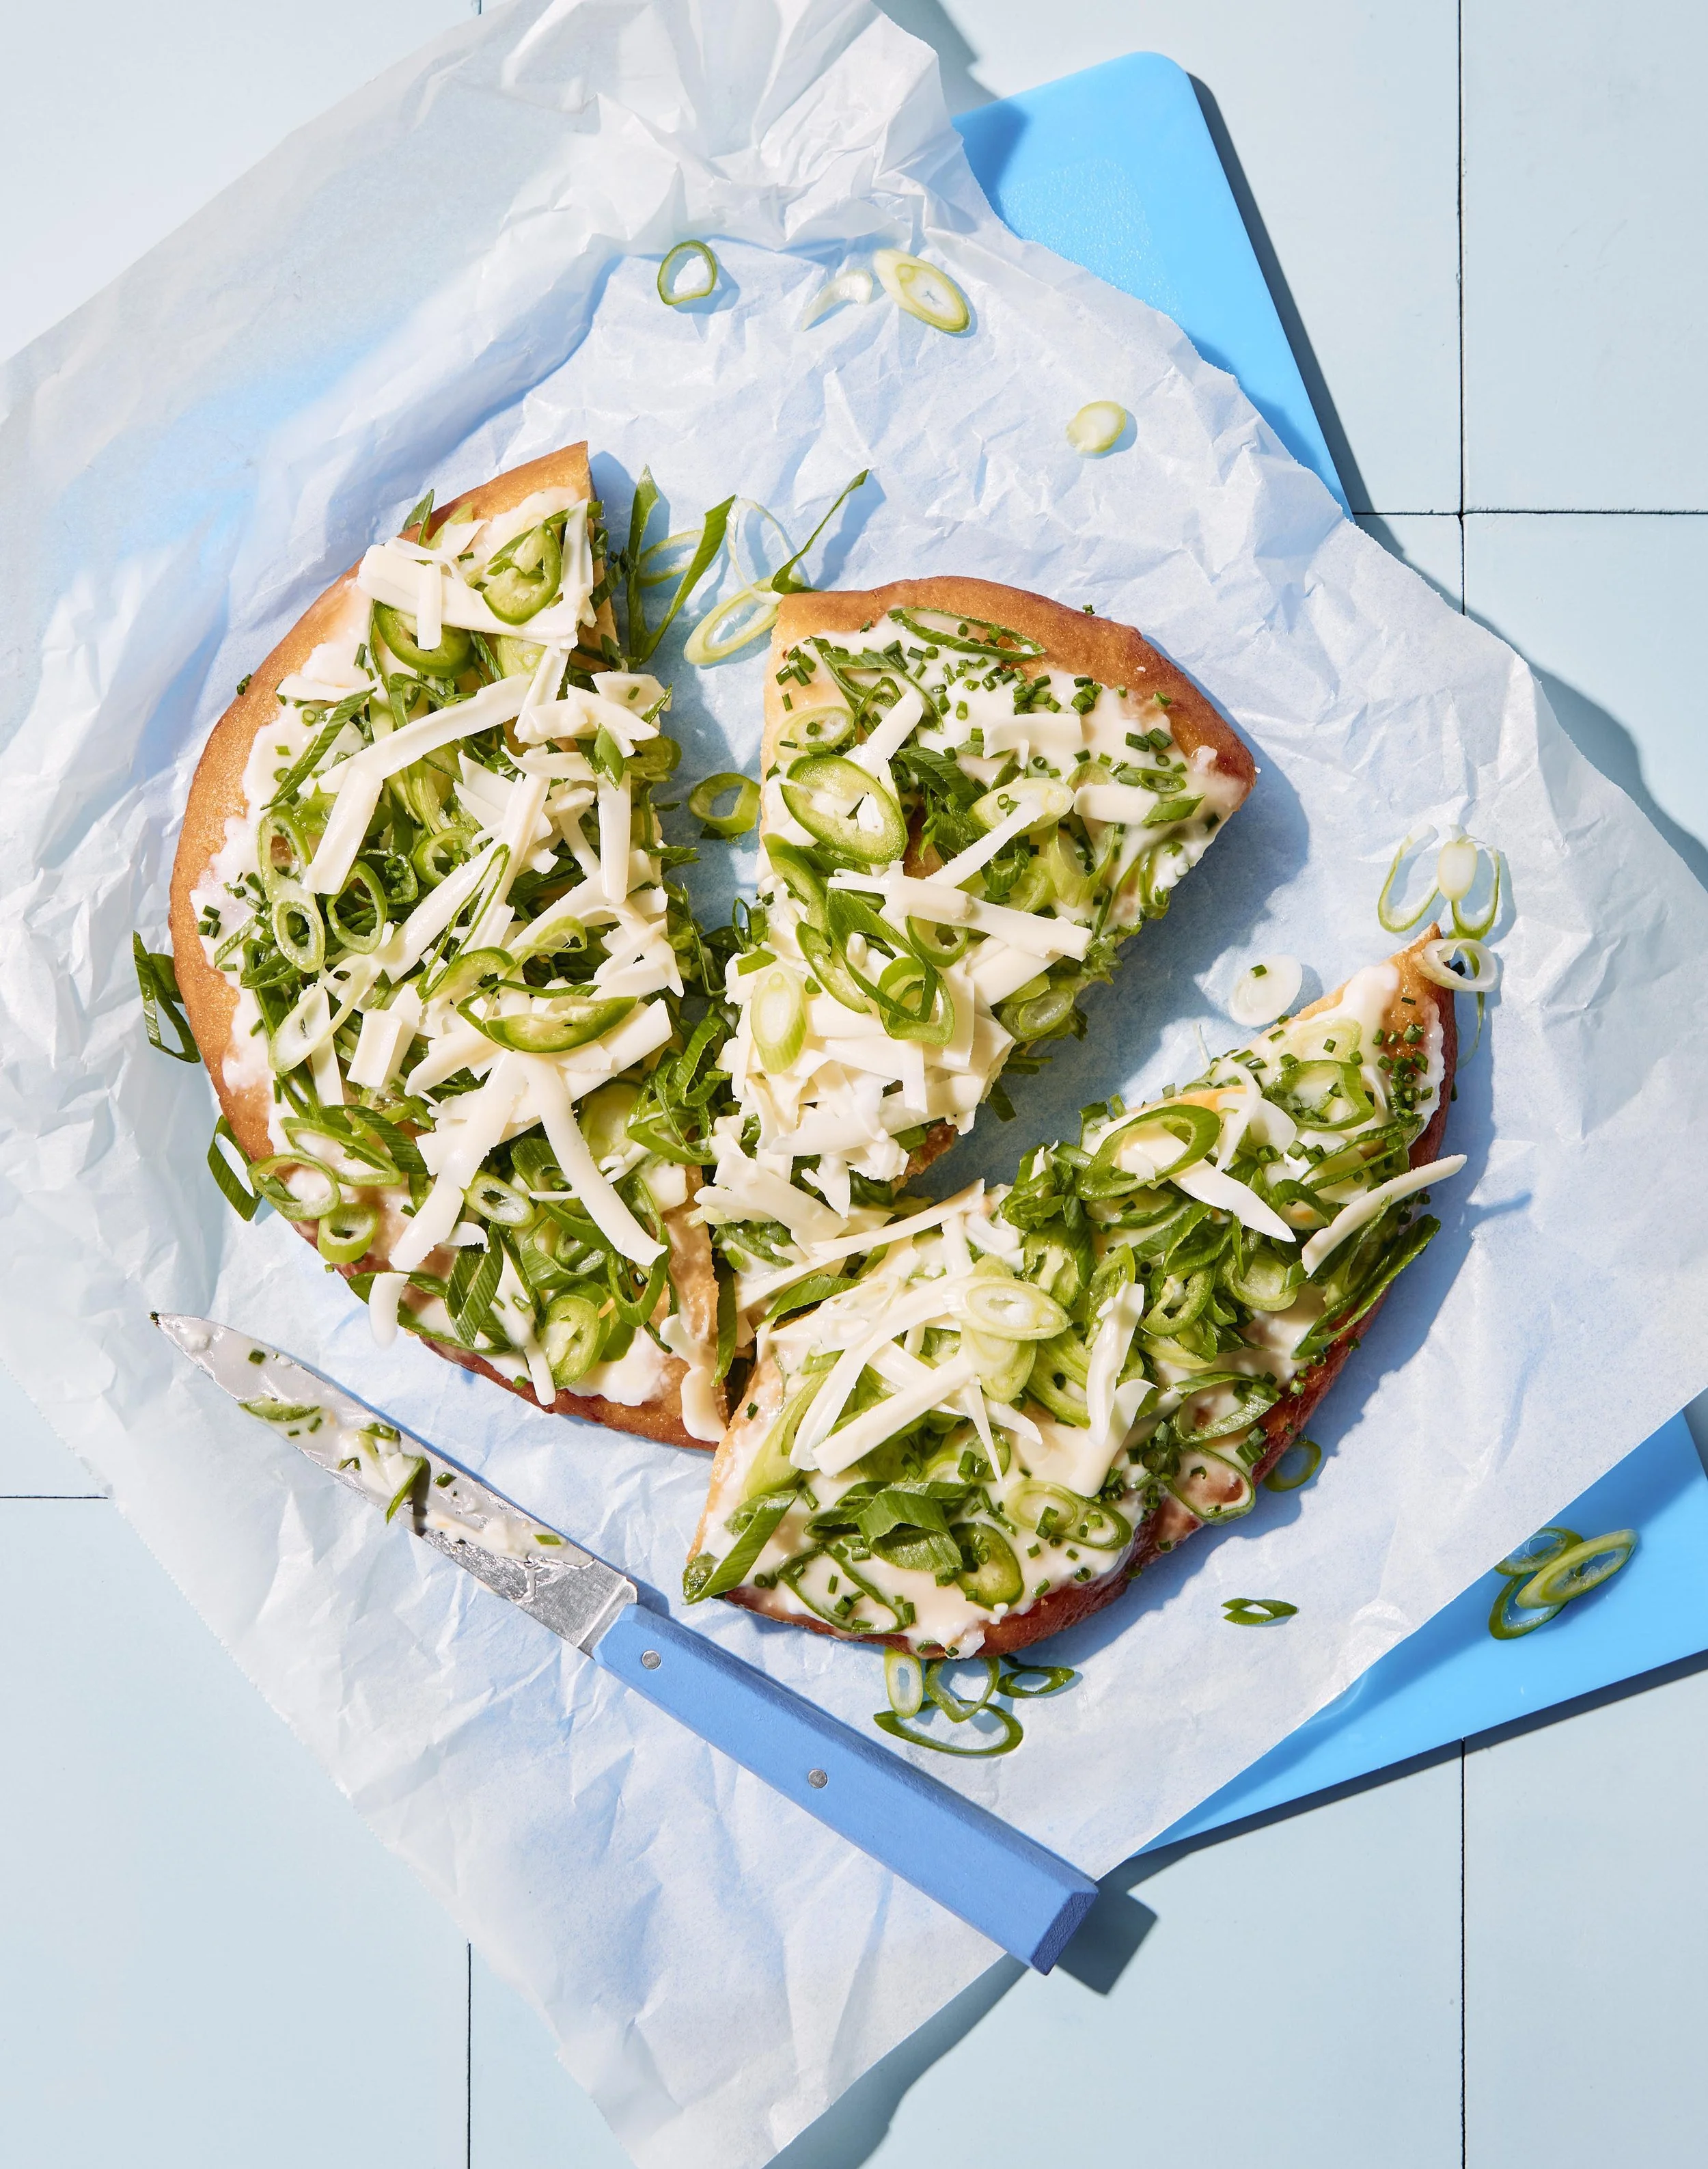
Langos from The Vegan Baker. Photo: Emily Weaving

Apricot Danishes from The Vegan Baker. Photo: Emily Weaving
“While baking certainly is a science, it’s also an art that gives infinite results once you realise how to use dough as a template for your dreams.”

Rhubarb & Strawberry Handpies - recipe below! Photo: Emily Weaving
The Vegan Baker by Zacchary Bird is available now!
RHUBARB & STRAWBERRY HANDPIES
Handpies topped with an easy ‘slit lattice’ will delight anyone (who doesn’t suffer from trypophobia). You can swap in whichever pie filling you fancy (check out some other fillings on pages 178–179), but these rhubarb and strawberry ones are specifically a tribute to my nana, the world’s biggest rhubarb lover. The tangy–sweet filling will convince you rhubarb practically goes in everything – even though, as we’ve learned through Nan, it definitely doesn’t! Skip the savoury jelly experiments and have a go at these perfect handpies.
Makes 12
INGREDIENTS
1 × quantity Rough puff [see below]
plain (all-purpose) flour, for dusting
60 ml (2 fl oz) soy milk
demerara sugar, for sprinkling
Rhubarb & Strawberry Filling
300 g (10½ oz) rhubarb stalks, finely chopped
160 g (5½ oz) strawberry jam
55 g (2 oz) caster (superfine) sugar
20 g (¾ oz) cornflour (cornstarch)
30 g (1 oz) vegan butter, softened
1 teaspoon natural vanilla extract
big pinch of fine salt
METHOD
Preheat the oven to 200°C (400°F). Line two baking trays with baking paper or silicone baking mats.
In a large bowl, mix together the rhubarb and strawberry filling ingredients until the rhubarb is coated.
Cut the rough puff in half. On a lightly floured work surface, roll each half into a 30 cm × 40 cm (12 in × 16 in) rectangle. Use a pizza slicer to trim the edges, then cut each rectangle into 12 even portions.
Transfer 12 of the dough rectangles to the prepared trays, spacing them out. Use a butter knife to make alternating slits over the remaining 12 rectangles to create a lattice effect.
Evenly spoon about 2 tablespoons of the filling into the centre of each rectangle on the prepared trays. Add the milk to a small bowl, then use a pastry brush to coat all the edges of the pastry rectangles.
Take one of the latticed rectangles, stretch it out slightly, then centre it over a filled one and press down. Use a fork to crimp the edges. Repeat to seal all the pies, then brush the tops with the remaining milk and sprinkle with a little demerara sugar.
Bake for 20–25 minutes, until the pastry is crispy and golden all around, and the filling starts trying to escape through the slits in the lattice.
Remove from the oven and allow to cool fully before serving. The handpies will keep in an airtight container at room temperature for up to 2 days.
Rough puff
Medium, makes: 1.1 KG (2 lb 7 oz)
A hybrid of pie crust and puff pastry methods, this involves the roughest version of lamination to create a flakey crust. As with puff pastry, best results will come from keeping the dough as cold as possible – a cool room or generous rests in the fridge will help with this.
360 g (12½ oz) cold vegan block butter
520 g (1 lb 2 oz) plain (all-purpose) flour, plus extra for dusting
2 teaspoons fine salt
up to 240 ml (8 fl oz) ice cold water
Divide the butter into quarters. Begin by ‘cutting’ one butter quarter into the flour and salt. Ideally, a food processor will most efficiently distribute the fat by pulsing it with the flour and salt to make a crumb-like mixture. Pulse sparingly to ensure the butter blobs don’t become too fine.
To do this process manually, you can use two knives or a pastry cutter to literally ‘cut’ the butter into the flour and salt until the blobs are pea-sized. You can also freeze your butter, then grate it to get small, even pieces to distribute throughout the flour.) If you’re going completely old-school, cut your butter into small pieces and just use your fingertips to rub it into the flour until crumbly.
Add the ice-cold water, one tablespoon at a time, mixing it through thoroughly before adding any more (you probably won’t need all of the water). When the dough just comes together, knead it once or twice with your hands to create a dough ball. Secure inside plastic wrap and chill fully in the fridge for 30 minutes.
On a lightly floured work surface, roll the dough out to a 15 cm × 30 cm (6 in × 12 in) rectangle. Dot the surface of the rectangle with another quarter of the butter. (Alternatively, if your fat is frozen, grate it haphazardly over the dough.)
Now perform a letter fold, by folding the bottom third of the dough over, then folding the top third over this, as though you needed to fit the dough into an envelope. With the end of the rolling pin, tap lightly and evenly all over the top of the dough to secure the layers. Rest the dough in the fridge for 15 minutes, wrapped in plastic wrap.
Return the dough to the benchtop and rotate 90 degrees from where you last left off. Repeat the rolling out, butter dotting, letter folding and resting in the fridge twice more, to use up the remaining butter. (If the room you’re working in and the dough remain cold enough, you can repeat these folds back-to-back, without resting in the fridge.)
When all the folds are complete, either roll the dough out one last time to use in recipes, or store in the fridge or freezer until ready to use. The fridge will buy you at most 3 days, and the freezer a few months, with an overnight thawing in the fridge.